
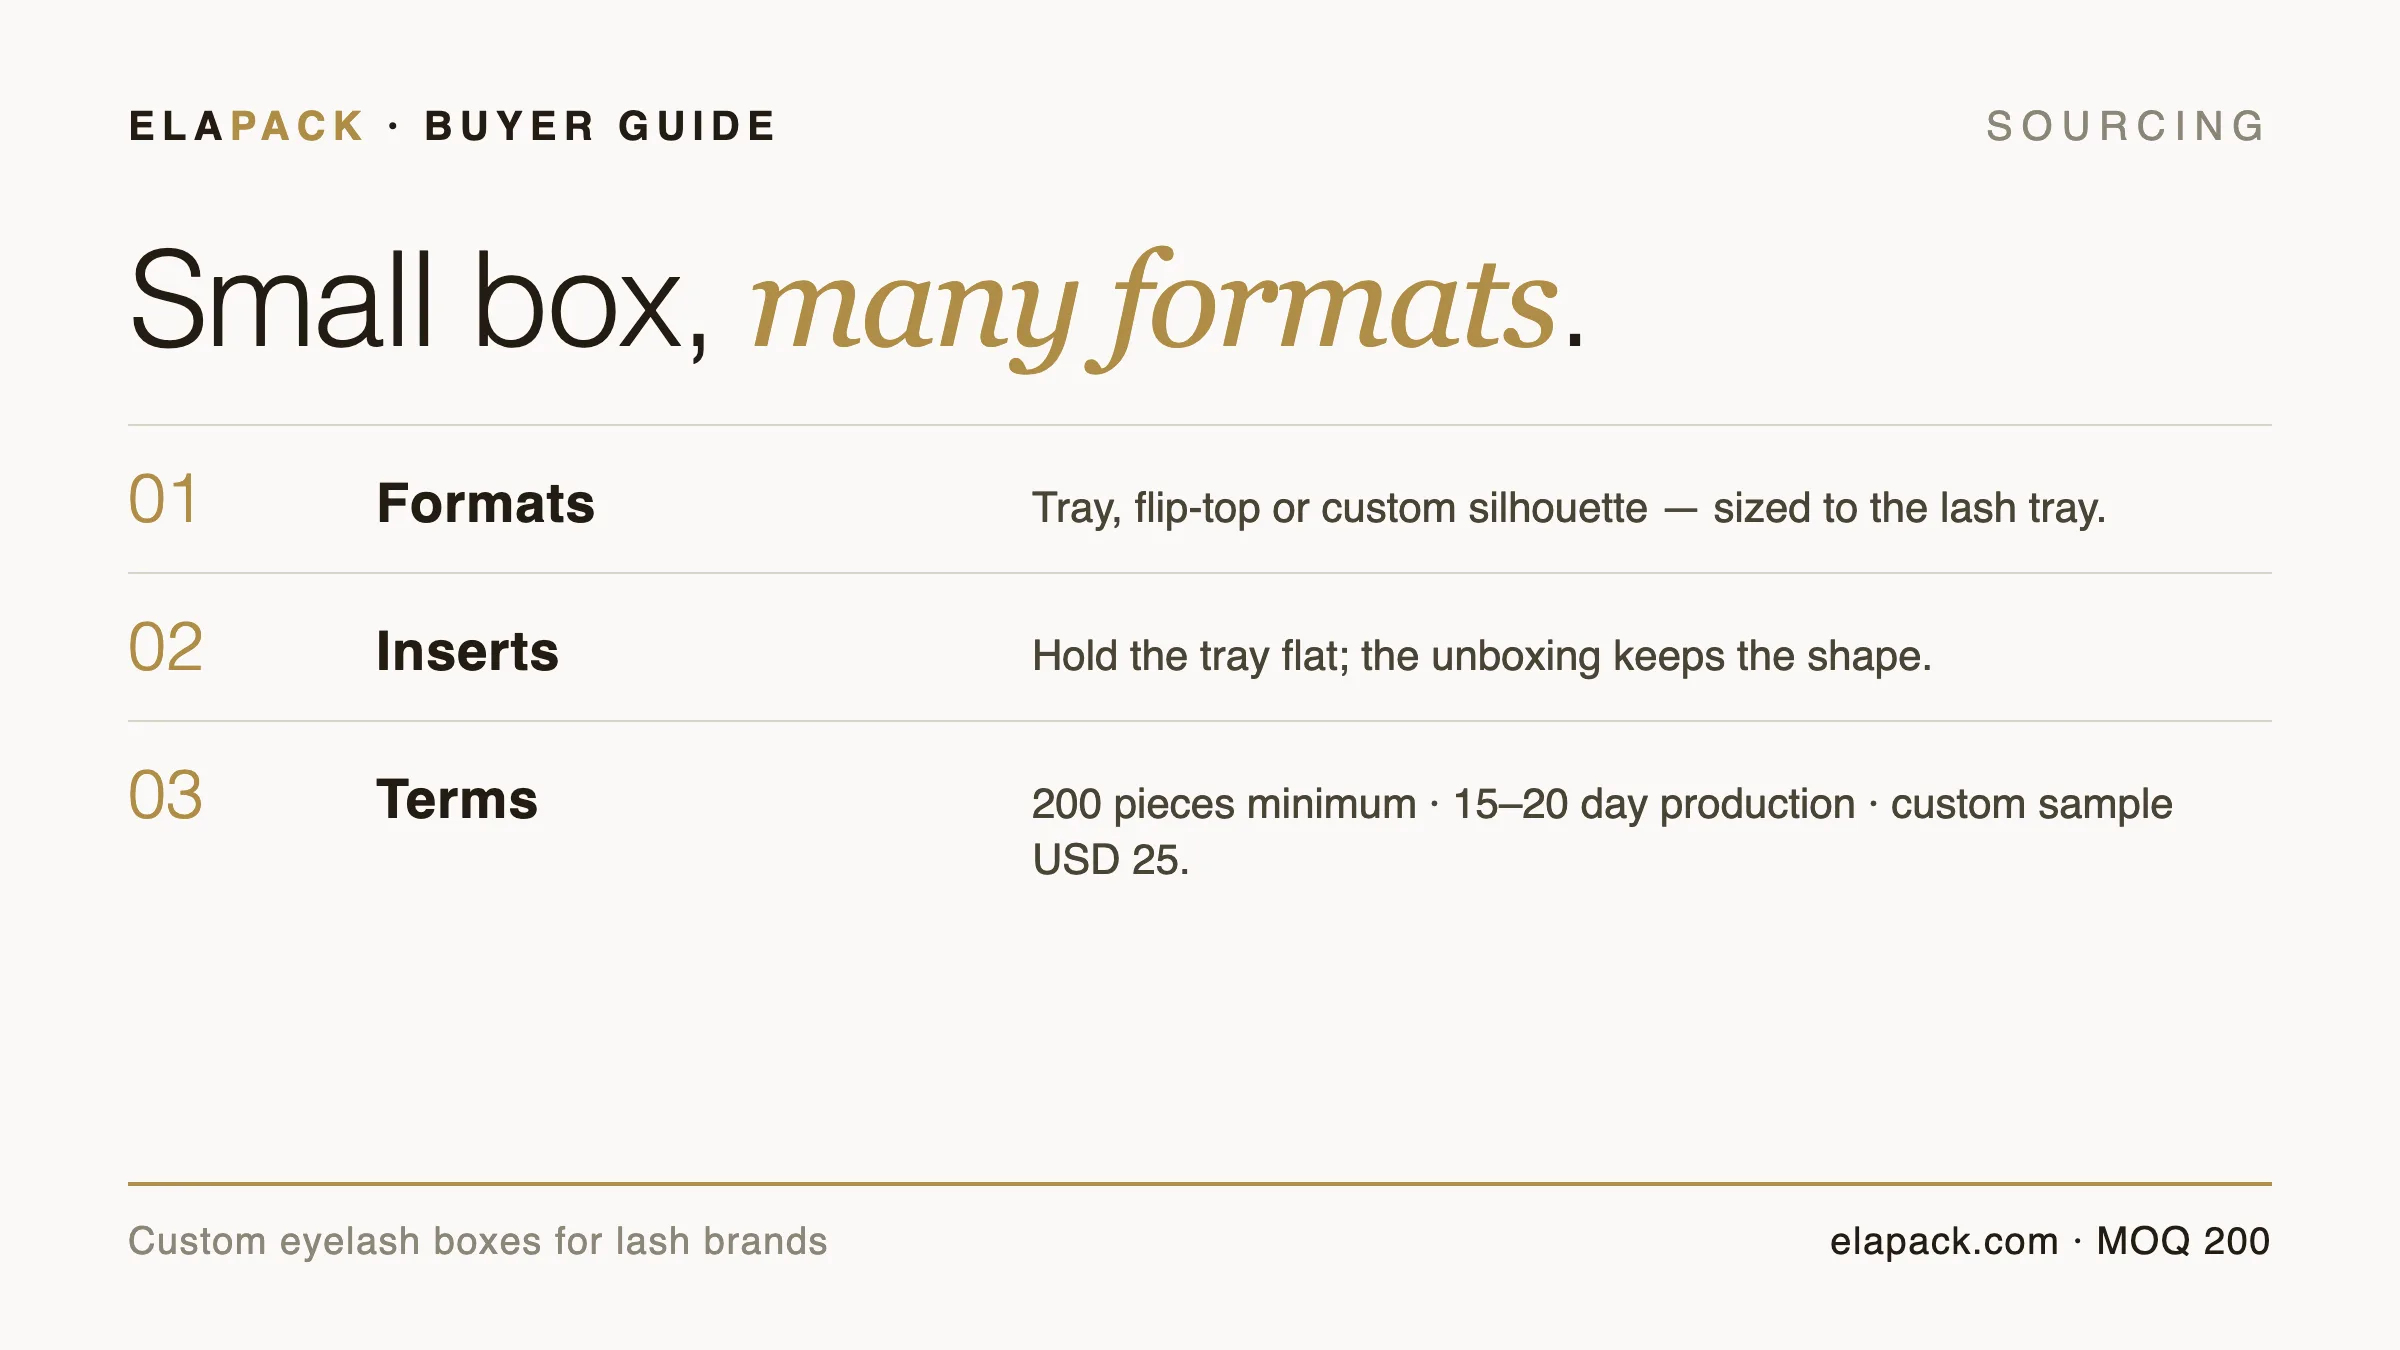
Format, print and sizing guidance in this guide is generic industry knowledge. Confirm material and production specifics with the supplier you are evaluating.
This guide is for lash brand owners, salon buyers and wholesalers who are customizing eyelash boxes — a first run, a rebrand or a wholesale pack — and need to brief a supplier without wasting sampling rounds. It covers the five decisions that define a custom lash box: the tray format, the box structure, the insert, the print program and the quantity plan. If your question is which supplier to choose, what a quote costs, or how fast a factory ships, stop here: this page does not select a supplier, price a quote, or approve a production run. A lash box customized from a photo reference is a guess; the box has to be built around the tray, the shelf and the brand, in that order. Work through the five decisions below and you will finish with a customization brief ready to send for samples and quotes.
Why lash boxes customized from a photo disappoint
A custom eyelash box does a double job: it holds the lash tray securely in transit and on the shelf, and it sells the shade and style system at first sight. When the box is copied from a photo instead of built from your tray, one of those jobs usually fails.
- A lash brand orders boxes customized to match a competitor photo or a marketplace template.
- The boxes arrive and the trays rattle, the lid presses on the lashes, or the printed layout sits over the wrong row.
- Without mapping your trays and your retail context to the box specs, the customization is guesswork and quotes are not comparable.
- A wrong box means re-sampling, re-cutting the insert, or retail stock that cannot go on shelf.
- The rework can delay a launch or a wholesale commitment, which raises the cost of a wrong brief.
- The task on this page is to map your trays and brand to structure, insert, print and quantity, and prepare the brief for a quote.
The fix is not a better photo. It is a brief that starts from the tray and works outward.
Five decisions that customize your lash box
Customize from the tray outward — format, structure, insert, print, quantity — before you compare quotes. Each decision below ends with the question your line has to answer.
Start from the tray format
The tray decides the box, not the other way round. Measure the lash tray or pair card exactly — length, width and the height of the tray with lashes seated — and count how many trays one box must hold. As a working reference, stock lash formats commonly land near 14×10×6 cm for single-tray retail boxes, 15×15×5 cm for square multi-pair formats and 20×18×8 cm for wholesale display packs; anything outside those bands is fully custom. The question your line has to answer: how many trays per box, and does the box also carry accessories — glue, tweezers, an applicator — that need their own wells?
Choose the box structure
The structure follows the selling moment. A sleeve suits single-pair direct-to-consumer mailers; a tray-and-lid or flip-top box suits retail counters where the box is handled; a magnetic flip-top adds the premium open-close ritual for flagship lines; a tall display pack suits wholesale. The question: where does the box live — in a mailer, on a shelf, or in a display — and how often is it opened before purchase?
Specify the insert
The insert is what actually holds the lashes. Fitted inserts cut to the tray profile keep trays seated in transit and stop the rattle that reads as cheap; looser universal pockets cost less but let trays shift. Decide glued-in or loose, and whether accessory wells are part of the same insert tooling. The question: what happens to the box when it is dropped, and is that acceptable at your price point?
Plan the print and finish
The wrap carries the brand. Full-colour offset print covers the shade system and artwork edge to edge; foil stamping lifts a logo; embossing adds quiet relief; spot UV accents a pattern under shop light; inside-lid printing carries instructions or a brand line at the opening moment. The question: which two techniques carry the brand — and does the finish survive handling at retail, not just the photo?
Plan quantity and the run
Customization is priced per run, so quantity planning is part of the brief. Printing plates and cutting dies are set up once per design, which is why minimums exist; a low-MOQ supplier lets a first run act as a market test before the reorder. Check whether the minimum is per design or per SKU — one structure printed for several shade variants usually shares tooling but not always the minimum — and plan the first order around your fastest-moving shades. The question: how many pieces does the test need to be meaningful, and which variants earn the first run?
When customization cannot fix the problem
Some failures are decided before the box is ever customized. Three boundaries keep this page honest:
- A photo cannot tell you the internal clearance. The tray-to-lid gap has to be confirmed from a physical tray and sample, not from a product image.
- Print proofs drift. A colour approved on screen can sit differently on the produced wrap; confirm the colour match on a printed sample of the actual board before the run.
- Inserts are cut to a tolerance. A tray that measures fine on paper can sit loose if the insert is cut to a generic profile rather than yours; the sample should be checked with the real tray inside.
Prepare the customization brief
Nothing on this page collects your data or sends anything. Copy the six lines below into your own note and fill them for the line you are launching:
- The tray: dimensions, trays per box, and the accessories that ride along.
- The structure: sleeve, tray-and-lid, flip-top, magnetic or display pack — and where the box lives.
- The insert: fitted to the tray profile or universal, glued or loose, with or without accessory wells.
- The print: artwork coverage, the one or two finishes that carry the brand, and inside-lid printing if wanted.
- The quantity: first-run size, per design or per SKU, and the variants that earn the first run.
- The open spec: the one line above you cannot answer yet — that is the question for your supplier.
Keep the note local, and send the brief to your supplier through your existing approved contact process. Your next step, once the brief is filled, is the sampling decision — approving a printed sample against the wrap and the real tray before the run — which is a separate step for a separate day.