Technical descriptions of each finish are industry references as published by printing and packaging authorities (sources named inline). Board grades, colour-control steps and QC stations are ELAPACK's published production references; order terms are its confirmed trade terms.
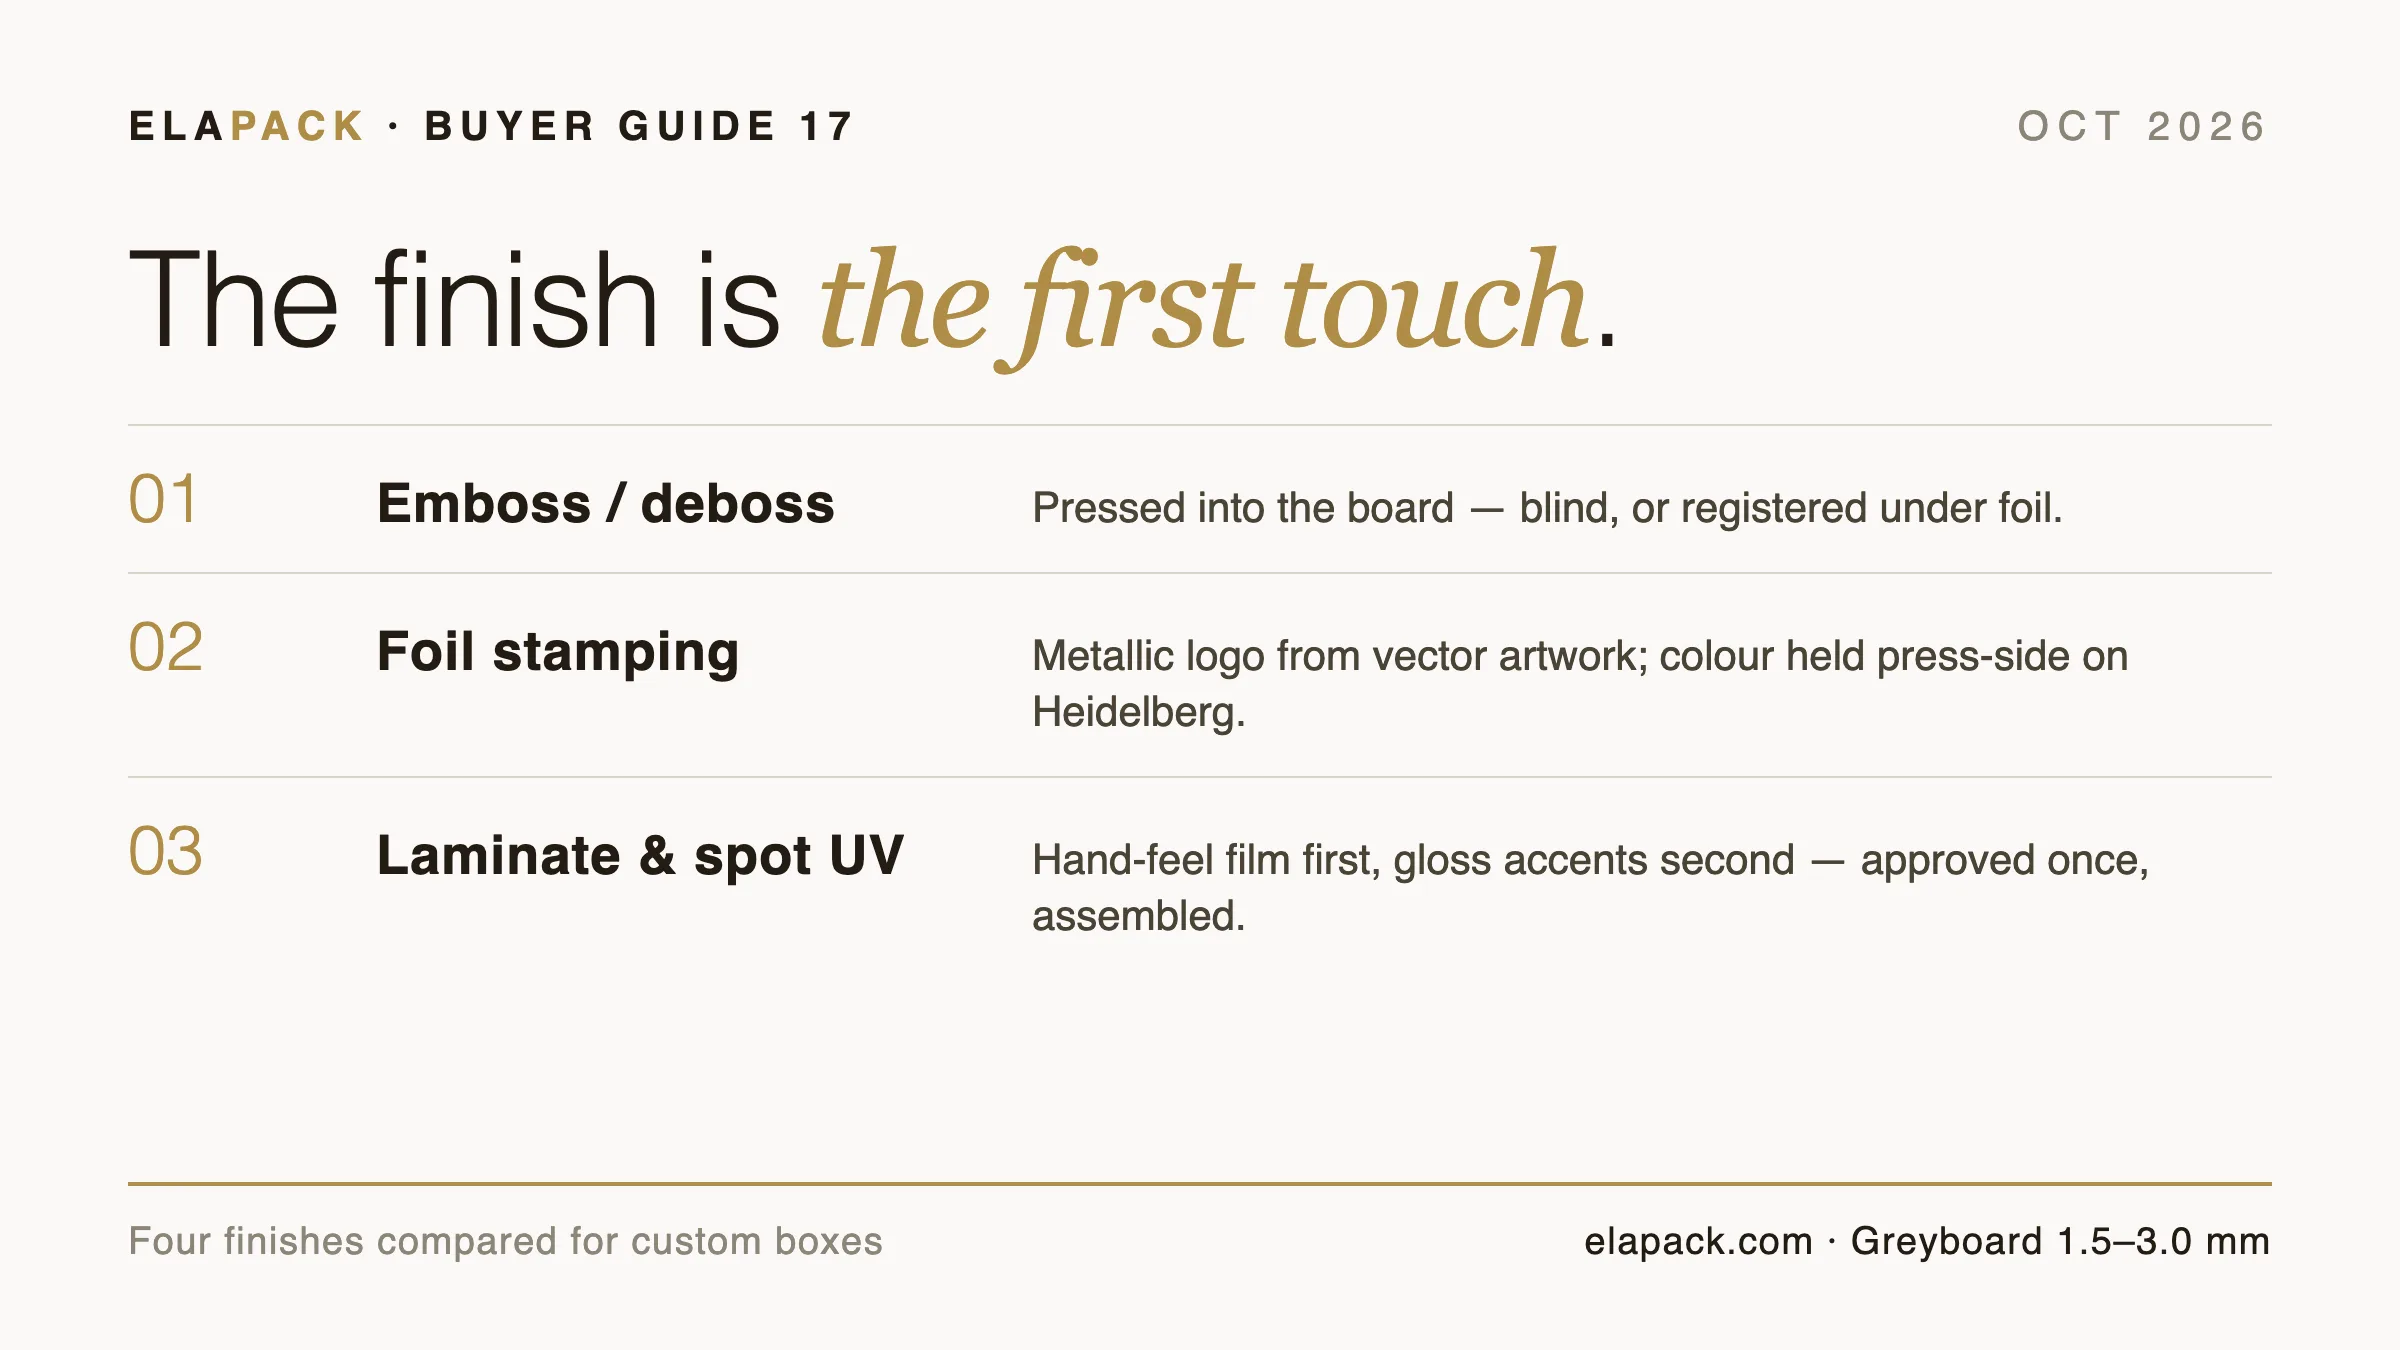
The finish is what the customer touches first: a logo pressed into the board, a foil that catches the light, a matte lamination that changes how the same Pantone reads. Embossing and debossing, foil stamping, lamination and spot UV are the four finishes a luxury-box buyer actually chooses between, with the tooling implications, the colour-control process behind them and the specification list that makes quotations comparable.
Key facts at a glance
| Item | Figure | Source |
|---|---|---|
| Minimum order | 200 pieces per design, all product lines | ELAPACK confirmed terms |
| Production lead time | 15–20 days at 200–20,000 pieces | ELAPACK confirmed terms |
| Custom sample | USD 25 plus USD 20 shipping, built in 3–5 days | ELAPACK confirmed terms |
| Greyboard grades | 1.5 / 2.0 / 2.5 / 3.0 mm tiers | ELAPACK published reference ranges |
| Insert systems | Recyclable paper line, EVA/foam line, layered A-grade board | ELAPACK published production ranges |
| Colour control | Four steps: artwork review, material test, press control, sample approval | ELAPACK published process |
| Cutting-die tooling | Quoted at USD 50–100 where a new die is required | ELAPACK confirmed terms |
Choosing a finish starts with the logo
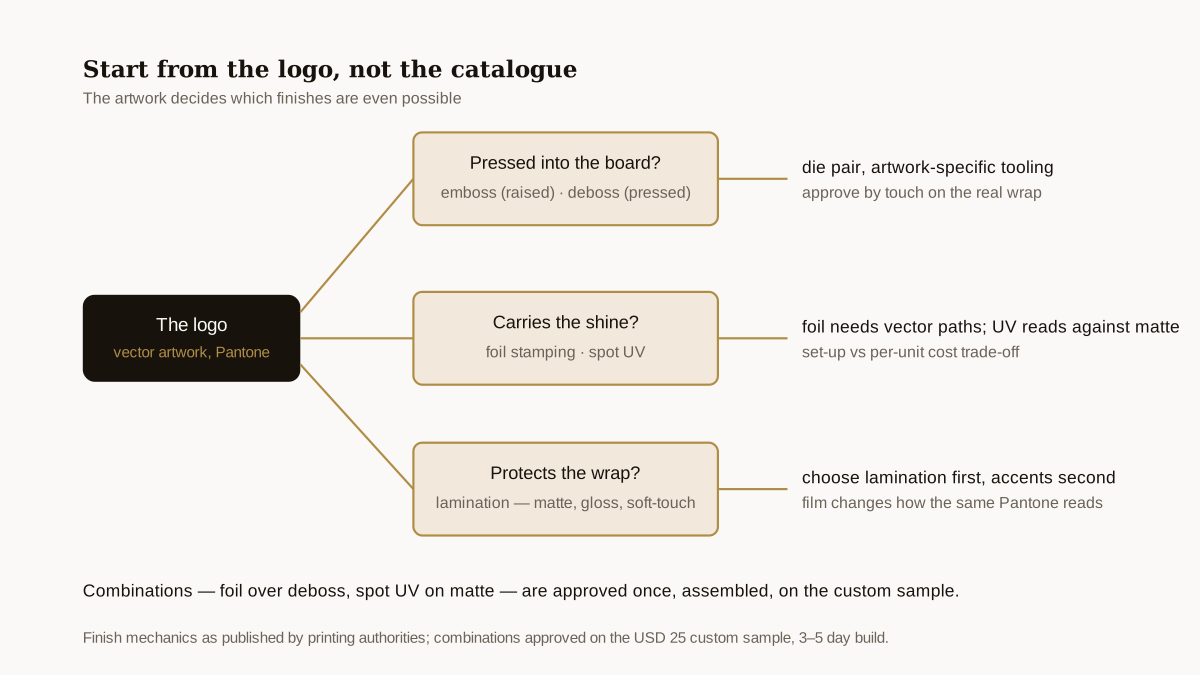
Finish enquiries split into three definitional questions — what the logo is pressed into (emboss, deboss), what carries the shine (foil, spot UV) and what protects the wrap (lamination). Buyers who arrive with a logo file can be walked down this tree in one reply; buyers who arrive with "make it luxurious" need the tree first.
Start from the logo artwork, not the finish catalogue — the artwork decides which finishes are even possible.
The four finishes at a glance
| Finish | What it does | Tooling | Typical use on a luxury box |
|---|---|---|---|
| Emboss / deboss | Raises or presses the design into the board | Male and female die pair | Logos and patterns, with or without foil |
| Foil stamping | Transfers metallic or pigment foil under heat and pressure | Single heated die | Logos, borders, lettering |
| Lamination | Bonds a film (matte, gloss, soft-touch) over the printed wrap | No die; film and adhesive | Full-wrap finish that sets the hand feel |
| Spot UV | Cures a high-gloss coating in selected areas | Plate per artwork area | Contrast accents over a matte surface |
Embossing and debossing
Embossing presses a raised image into the sheet; debossing presses the image down. Industry references are consistent on the mechanics: a metal die and counter-die work as a pair, and a “blind” emboss or deboss uses no ink or foil at all (as published on printindustry.com and packlim.com, checked October 2026). Two consequences matter to a buyer. First, the die pair is artwork-specific — change the logo and the tooling is remade, which is why finish decisions belong at the sampling stage, not after production is booked. Second, on textured wraps the depth reads differently than on smooth paper, so the effect is approved on the sample built on the actual wrap.
Emboss and deboss are approved by touch on the real wrap — never by the die drawing alone.
Foil stamping
Foil stamping transfers a thin metallic or pigment foil where a heated die contacts the surface, which is what gives logos the chrome, gold or brushed reflectivity that ink cannot reach (as published on tealpackaging.com). Because the die is single and the foil is consumed per unit, set-up is lighter than an emboss pair but the material cost runs through the whole run — a trade-off printing authorities describe as emboss costing more to set up and less per unit on long runs, foil the reverse (as published on cnlipack.com). Artwork must be vector (AI, PDF or EPS): dies are engraved from paths, and a raster logo cannot make a die. Specific foil colours and plate fees are quoted per project — confirm them on the written quotation rather than from any catalogue.
Send vector artwork at the enquiry stage; foil and plate costs are quotation items, not catalogue numbers.
Lamination and spot UV
Lamination is the full-surface decision: matte, gloss or soft-touch film over the printed wrap, setting the hand feel and the scuff resistance of the whole box. Spot UV is the accent decision — a high-gloss cured coating in chosen areas, most often over matte lamination so the logo lifts from the background. The interaction to understand is colour: the same Pantone reads differently under matte film, gloss film or bare paper, which is why material and surface tests sit early in the colour-control chain below. Soft-touch lamination is often asked for by name — buyers who have felt it specify it directly, because the hand feel is the selling point.
Choose the lamination first, then the accents — spot UV only reads against a contrasting full-wrap finish.
Combining finishes
The luxury standard is a combination: a foil-stamped logo registered over a debossed area (“foil deboss”), or spot UV accents on a matte-laminated wrap. Combination work carries the highest set-up cost and the tightest registration tolerance, which printing references flag explicitly (as published on ipacku.com). Practically, combinations are approved on the custom sample — USD 25 plus USD 20 shipping and a 3–5 day build at ELAPACK — with every layer present, because registration that looks fine as separate proofs can drift when the layers meet.
Approve combinations once, assembled, on the custom sample — separate approvals prove nothing about registration.
How colour is actually controlled
Finish choices change colour, so the control process matters as much as the finish itself. ELAPACK's published four-step chain runs: artwork and Pantone review; material and surface testing (paper texture, coating and lamination are tested for their effect on the final colour); press-side colour control on Heidelberg presses; then sample approval before bulk, with QC gates at incoming material, pre-production sample, in-process, assembly fit, appearance and final packing. The published caveat belongs in every brand's brief: the final colour may vary slightly depending on material, coating, lamination and printing method.
| Step | What happens | What a buyer sends |
|---|---|---|
| 1. Artwork & Pantone review | Target colour fixed from the artwork | Vector logo plus Pantone references |
| 2. Material & surface test | Wrap, coating and lamination tested for colour shift | The chosen finish combination |
| 3. Press control | Colour held on press during the run | — |
| 4. Sample approval & bulk QC | Custom sample signed off; six QC stations gate the run | Approval on the assembled sample |
Fix the Pantone at step one and approve at step four — colour disputes almost always come from skipping the middle.
Board grade: the layer under the finish
Finishes sit on a three-layer build — surface wrap, greyboard, inner lining — and the board decides how the finish reads. ELAPACK's published reference tiers: 1.5 mm for small and light items such as jewellery cards and sample kits; 2.0 mm as the standard premium grade for skincare and fragrance sets; 2.5 mm for medium-to-large gift boxes and press kits; 3.0 mm for large boxes, heavier contents and maximum presence. Board represents roughly 8–14% of cost at 1.5 mm rising to 16–25% at 3.0 mm (ELAPACK published figures, for reference only, based on similar box size, structure and standard finishing). Deeper embossing in particular asks more of the board, which is one more reason the grade is chosen before the die is cut.
| Grade | Typical application | Share of box cost (reference) |
|---|---|---|
| 1.5 mm | Small boxes, jewellery cards, sample kits | ≈ 8–14% |
| 2.0 mm | Standard premium boxes, skincare and fragrance sets | ≈ 10–18% |
| 2.5 mm | Medium-to-large gift boxes, press kits | ≈ 13–22% |
| 3.0 mm | Large boxes, heavy contents, maximum presence | ≈ 16–25% |
Pick the board grade with the finish, not after it — depth, closure weight and cost all hang off that one line of the specification.
What to put in your enquiry
A finish enquiry a factory can quote first time carries: the box format from the twelve standard structures (magnetic flip-top, lid-and-base, drawer, two-door, handle, folding, cylinder, window, display, advent, mailer, card box) or a bespoke drawing; the board grade; the wrap; the finish combination with the logo marked for each; vector artwork; Pantone references; the quantity against the 200-piece minimum; and the sample route. Where a new cutting die is required, tooling is quoted at USD 50–100 depending on the product.
The bottom line
Choose the lamination that sets the hand feel, put foil or a blind deboss where the eye should land, use spot UV only against contrast, and approve everything once on the assembled custom sample. For boxes that carry these finishes as standard, see the magnetic closure gift box and the custom jewellery boxes collection. Contact ELAPACK with the format, finish combination and quantity, and the quotation will state the board grade, finishes and tooling that apply.