
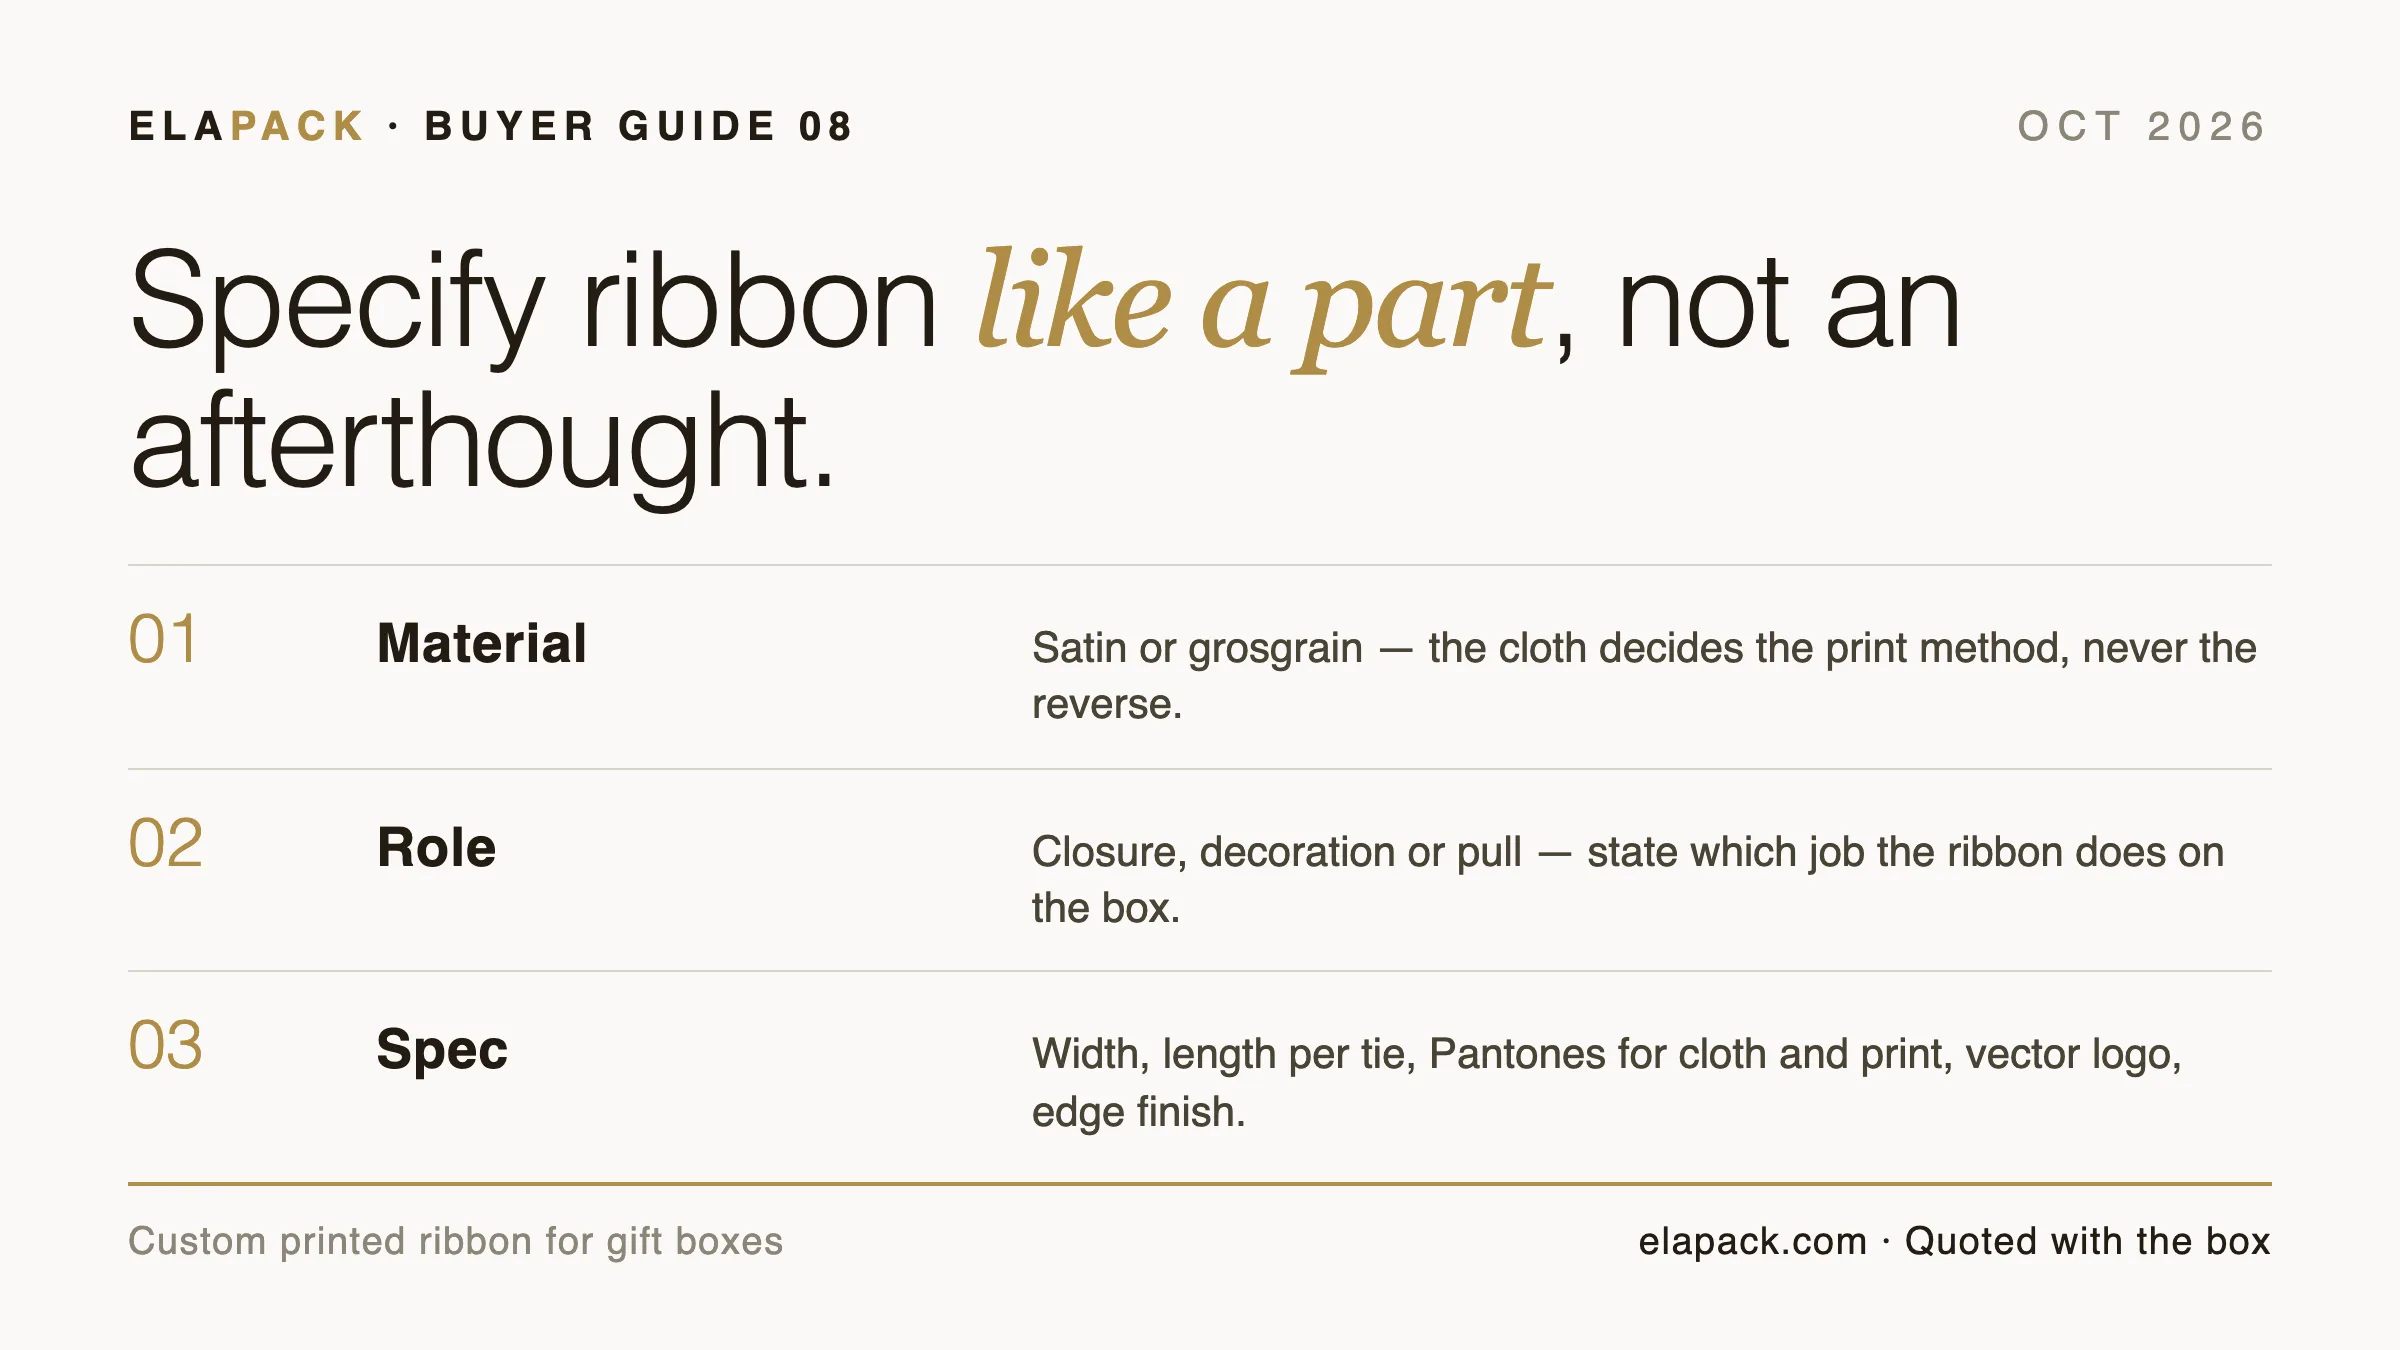
When ordering printed ribbon, “logo on a ribbon” is not a complete brief. The print must fit across the width, repeat along the length and sit where you want it after the ribbon is tied or attached. Resolve those three views together before approving a roll from a flat artwork proof.
Separate ribbon width from printable width
A published noissue template for 16 mm satin ribbon specifies a 3 mm safe margin from each ribbon edge. Within that particular template, 16 − 3 − 3 leaves a 10 mm safe artwork width. This is a worked reading example, not an ELAPACK print limit. The same template specifies minimum strokes and gaps of 0.2 mm. noissue satin ribbon artwork template
| Template field | Published value | What it helps the buyer distinguish |
|---|---|---|
| Ribbon width | 16 mm | Physical width of that ribbon |
| Edge safety margin | 3 mm per edge | Space excluded from the safe artwork area |
| Safe artwork width | 10 mm, calculated | Width remaining after those margins |
| Minimum stroke/gap | 0.2 mm | A process-specific artwork constraint |
Do not transfer these limits to another width, material or printing method without confirmation. Instead, request the template for the actual quoted ribbon and review the logo at its intended size. If a wordmark becomes unreadable, simplifying it or selecting a different width may be more useful than repeatedly shrinking the original artwork.
For a coordinated pack, compare the ribbon against the gift-box format and other ribbons and accessories. A ribbon shown across an empty lid is not yet an assembled presentation. Our recommendation is to include a top view of the completed package in the approval brief, so the supplier knows which part of the printed design should remain visible.
Check the repeat on an assembled sample
The same noissue template specifies a 12-inch plate repeat and artwork spacing of 0.5 inch. These are separate template fields, not interchangeable descriptions of the length used on each gift box. A repeating print pattern and a cut length answer different questions. Published ribbon template
For your project, ask for a repeat drawing showing the artwork and blank space along the ribbon. Then review a tied or attached sample on the actual package. Identify which section faces the customer, where the knot or attachment sits, and whether you need a particular logo orientation. Those are design decisions to communicate, not assumptions to leave to the person assembling the order.
If the ribbon is part of a pull tab, handle or another functional component, state that purpose separately. When the ribbon is itself the closure, the magnetic closure versus ribbon tie comparison compares the two routes for gift-box lids. Do not approve a decorative sample as evidence that the assembled component can perform a load-bearing job. Ask the supplier what construction and assessment are appropriate for the intended use; this guide provides no load rating.
For a bow or wrap, our suggestion is to document the approved assembly with a photograph and a measured cut length. If the box size changes, review the arrangement again. A flat logo proof remains useful for artwork, but it does not resolve the appearance of the knot, tails or final visible section. The gift-box ribbon product page can serve as a starting point for that discussion.
Specify the ordering unit and the approval boundary
A quotation should say whether you are buying rolls, cut pieces, completed bows or an assembled packaging component. These scopes should not be compared as though they contain the same work. We suggest listing the ribbon material and width, color reference, printing method proposed by the supplier, printed side or sides, artwork revision, repeat layout and supply format.
Where you need cut pieces, provide the approved length and quantity by version. Ask the supplier to explain any production allowance in the quotation rather than applying a generic waste percentage from a blog. No consumption rate has been measured for your packing process, so this article does not invent one.
Color approval also needs a clear reference. If the ribbon is intended to coordinate with a box or pouch, supply those references together and ask how the proposed sample will be compared. Avoid treating a screen image as the completed material approval. Keep the intended combination visible in your packaging set brief, including any versions with different artwork or dimensions.
Standard orders start at 200 pieces with a 15–20 day production window after sample approval. When you are ready to enquire, send ELAPACK the box dimensions, ribbon role and artwork. Request the applicable production template and sample scope. That lets the next discussion focus on the unresolved width, repeat or assembly decision, instead of relying on a general promise that a logo can be printed somewhere on the ribbon.