# Subscription Box Design: From Idea to Print-Ready (With or Without a Designer)
Subscription box design is where most programmes quietly decide their own fate. The structure you choose, the artwork zones you respect, and the print method you specify determine whether the box opens like a gift or arrives like freight — and whether month twelve looks identical to month one or has drifted into a slightly different colour nobody approved. This guide walks the full design workflow in order: choosing the structure, deriving the dimensions, building the artwork around a dieline, picking a print method, and last of all deciding who actually does the design — you, your vendor, or a freelance subscription box designer.
Key takeaways
Subscription box design is a fixed sequence — products, dimensions, structure, dieline, artwork, print method — and skipping a step is where first-run revisions come from.
- Derive the box from the packed product set: interior length, width and depth are the three numbers everything downstream inherits.
- The dieline is the contract between artwork and cutting die: design inside its safe zones, keep carrier zones empty, and deliver vector files.
- Print method is arithmetic: digital while the design still changes, flexo once it freezes, litho-lamination only from specialists.
- Monthly themes work as one variable per edition inside a frozen template, versioned like production artefacts — a full redesign every month is a cost the unit economics rarely absorb.
Last updated October 2026.
Step one: design the box around the products, not the reverse
Every experienced packaging source gives the same first instruction: choose and lay out the products before you design anything. Box Genie's guidance is typical — lay the items out as the subscriber will see them, note the fragile pieces and pinch points, and only then derive the box. Designing a beautiful box first and then discovering the products do not fit is the most expensive kind of subscription box design idea, because it gets discovered after the die is cut.
The derivation itself is mechanical: measure the packed product set at its widest points, add only the clearance an insert or wrap needs, and test one or two close sizes. Our box dimensions guide covers the measurement system in detail — inside versus outside dimensions, wall thickness, and the clearances each insert material demands. The output of this step is three numbers: interior length, width, and depth. Everything downstream — dieline, freight class, dimensional weight — inherits from them.
Step two: pick the structure that matches the opening you want
The structure is the design decision with the longest shadow, because it fixes the opening ritual, the print canvas, and the freight behaviour at once.
- Roll-end front tuck mailer — the subscription default. One-piece corrugated, self-locking, dust flaps, opens flat into a presentation tray. If your mental image of a subscription box design involves the lid lifting to reveal a printed interior, this is that box.
- Regular slotted container — the four-flap shipper, for heavy, glass, or damage-prone contents. Less ceremonial, more survivable.
- Rigid lift-off lid — the collector-tier box for annual editions and flagship drops. Maximum perceived value, minimum monthly practicality.
- Book mailers and padded alternatives — for flat or tiny programmes where the box is not the experience.
A useful discipline: pick the cheapest structure that survives your worst shipping lane, then spend the savings on print. Box Genie puts it plainly — most brands do not need foil or lamination to look premium, and Cratejoy notes that stickers, labels, or stamps are a legitimate low-budget branding route while a programme is still testing.
Step three: the dieline is the design's contract
A dieline is the flat, unfolded template of your box — every panel, fold, and glue tab drawn to final size. It is the contract between your artwork and the cutting die, and it is the one artefact every article on this topic tells you not to skip. Penji's framing is correct: it shows you and the printer exactly where every element lands once the box is folded.
In practice the workflow runs: request the dieline template for your chosen structure and dimensions from the vendor, design inside it, and keep every critical element inside the safe zone — clear of folds, glue tabs, and the areas carriers will cover with tape and labels. Vector artwork (AI, EPS, or vector PDF) is the standard; raster files that look fine on screen can print soft at box scale. We provide a free dieline preview for custom work, so you can see your own dimensions and structure before committing to tooling.
Step four: artwork zones that make subscription boxes work
Good subscription box packaging design is mostly zoning — deciding what each surface is for before decorating any of them.
- The lid or front panel carries the logo, and it should be the first thing a subscriber sees on opening. Penji's advice holds across the market: the logo belongs where the reveal starts.
- The interior panels are the unboxing canvas. This is where full-colour interior print earns its cost: a pattern, a monthly theme, or a plain field of brand colour turns the opened box into a set.
- The base and lower panels carry the practical printing — care symbols, social handles, a campaign hashtag. Shift4Shop's examples, like printing a sharing hashtag on the box, are cheap placements with real return.
- Carrier zones stay empty. Tape lines, shipping labels, and customs documents will cover whatever you print there, so design as if the top third of the outer panels is not yours.
Colour decisions follow the same zoning logic: harmonise the box with the logo and products rather than maximising contrast on every panel, and use vector graphics throughout so edges stay crisp at print scale.
Step five: choose the print method the run size dictates
Three methods cover nearly all subscription box printing, and the choice is mostly arithmetic:
- Digital (CMYK, no plates). No setup cost, no meaningful minimum, easy revisions — the reason digital-first shops can sell one box at a time. Penji and Shift4Shop both flag it as the startup method, with typical delivery around two weeks.
- Flexographic. A plate on a rotary drum; the workhorse of volume corrugated. Setup cost, then a low marginal cost per box — the right method once a monthly run is in the hundreds or thousands and the artwork is stable.
- Litho-laminated. Print on fine paper, then laminate to board — the premium surface for top-tier boxes. Penji's warning is worth repeating: with a weak provider it looks amateurish, so it is a method to buy from specialists only.
The crossover is programme-specific, but the pattern is universal: digital while the design is still changing, flexo once it is frozen. Freezing the design — locking colour references, panel layout, and dieline — is what lets the printer hold month one and month ten to the same standard.
Step six: who should do the design — you, your vendor, or a designer?
The designer question has three honest answers, and the right one depends on budget and how distinctive the box needs to be.
Do it yourself with vendor tools. Digital shops bundle online 3D designers with free templates; PrintPlace's tool refreshes a 3D preview as you place elements, and dieline templates are free downloads across the market. This route costs nothing and is entirely adequate for clean, logo-led layouts — which describes most successful subscription boxes anyway.
Use the manufacturer's design support. Converters and factories — including us — build and check print-ready artwork as part of the production relationship: dieline construction, artwork placement against the safe zones, and proofing before the die is cut. It is not brand strategy, but it is the layer that guarantees the file actually prints as intended.
Hire a subscription box designer. Freelance marketplaces list packaging designers by the project, and unlimited-design subscriptions serve brands rolling out monthly themes. This is the route when the box is the brand — when each edition needs its own art direction — and the budget has room for design as a recurring line. A practical middle path many programmes settle into: a designer establishes the system (logo placement, palette, interior pattern) once, then internal staff or the vendor execute each month's theme inside it.
Whichever route you take, the acceptance test is the same: the artwork is vector, it sits inside the dieline safe zones, and someone has seen a proof — on screen at minimum, in physical form before the first big run.
How do monthly theme changes work without a full redesign?
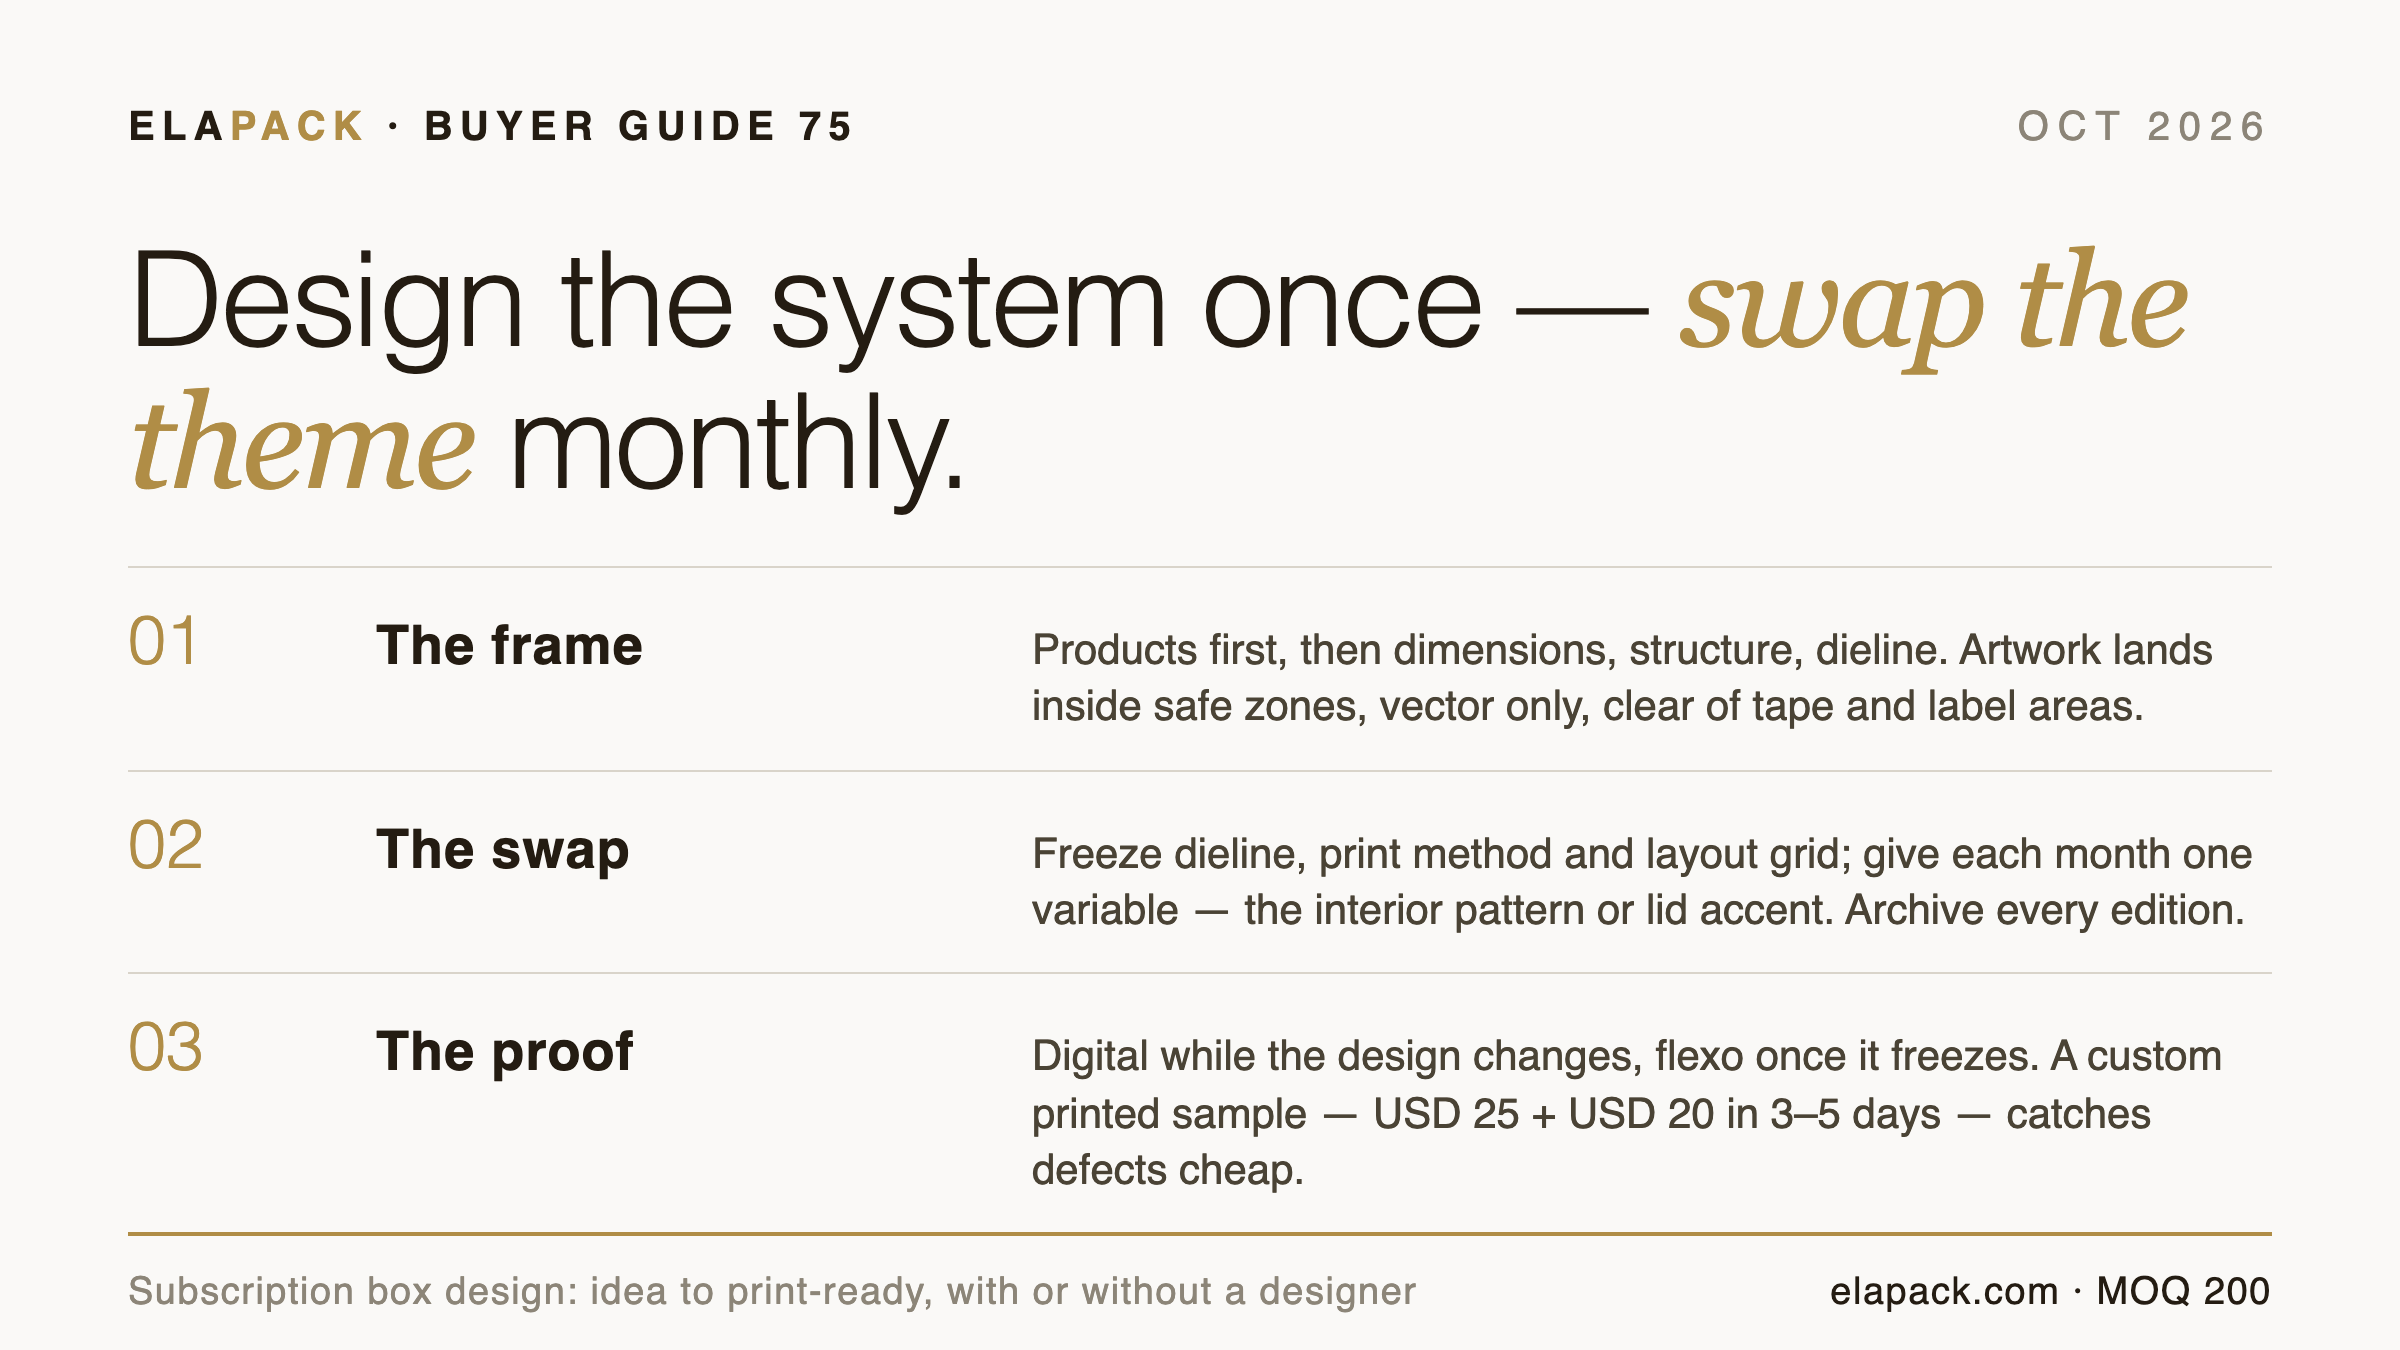
Designing the first box is a project; designing the next thirty-six is a system. The programmes that sustain monthly themes without chaos design a template once and then treat each edition as a controlled swap inside it — and the discipline is mostly about deciding what is allowed to change.
Freeze the frame. The structure, the dieline, the print method, and the base artwork grid stay fixed across editions. Every month's file starts as a copy of the master template, not as a fresh layout — same panel divisions, same logo placement, same safe-zone margins. This is what keeps month one and month twelve recognisably the same box, and it is also what keeps the printer honest: an unchanged dieline and colour reference mean each run is a repeat, not a new setup.
Give each month exactly one variable. The interior pattern, the lid accent colour, a monthly illustration — pick the surfaces that carry the theme and leave everything else untouched. Cratejoy's economics make the argument: when the box sells at 25–30 US dollars against a 9–12 US dollar product budget, a full redesign every month is a cost the unit economics rarely absorb, while a swapped interior panel delivers most of the novelty for a fraction of the artwork and proofing effort. A themed edition that changes one zone is a scheduling item; one that changes everything is a new project with a new error surface.
Version the files like production artefacts, because they are. Name each edition's artwork by month and version — not final-final-v2 — keep the vector master separate from the export the printer receives, and archive the approved proof alongside them. When a subscriber posts a photo of the March box next to the April box, this archive is the only way to tell whether the colour drifted in printing or whether the files genuinely differed.
Fold the change into the production calendar. A theme swap still moves through the same physical pipeline: artwork check against the dieline, proof, then 15–20 days of production on our line. That means the monthly theme conversation happens about six weeks before ship date, every month, permanently. Programmes that treat theme deadlines as flexible eventually meet the choice every recurring box faces — ship the old design again, or ship late — and subscribers forgive the first far more readily than the second.
What does the path from design to sample to run look like?
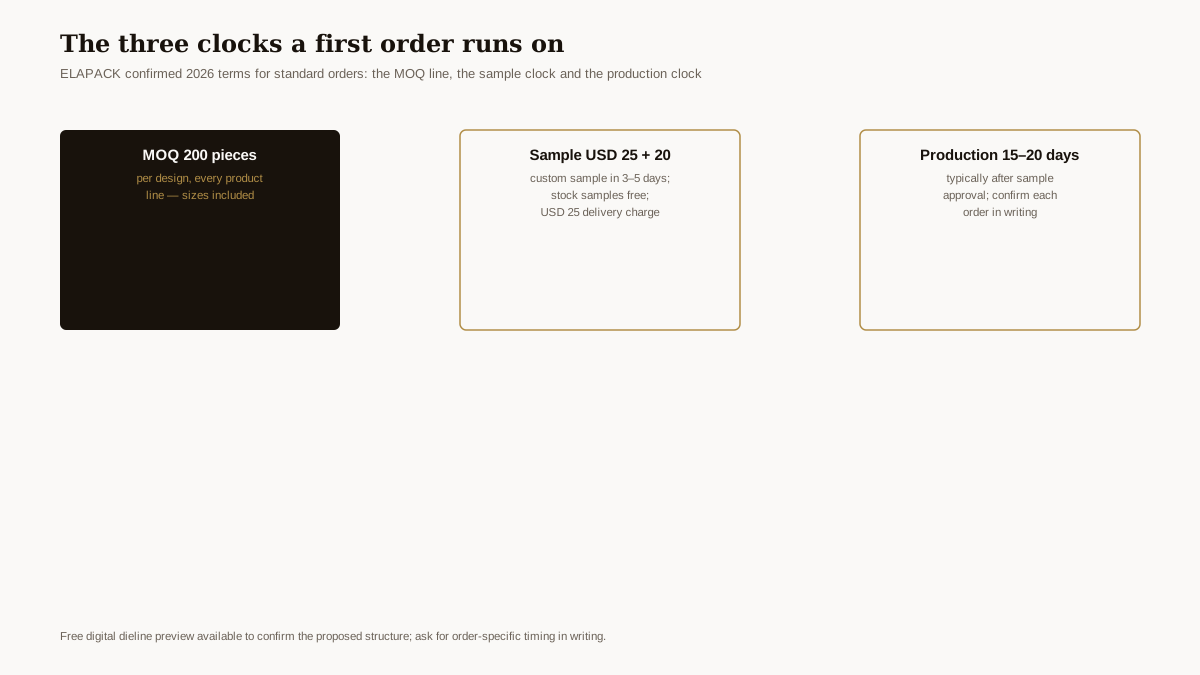
The three clocks a first order runs on: the 200-piece MOQ line, the custom sample (USD 30 plus USD 25 shipping, 3–5 days) and the production window — each confirmed in writing per order.
The last mile of subscription box design is physical, not visual. Order a printed sample before the production run — across the published market, sample economics range from about 1 US dollar for a generic digital-shop sample to 20 US dollars and up for custom printed ones; we make a custom printed sample of your own artwork on your chosen board for 25 US dollars plus 20 US dollars shipping, in 3–5 days. Check it under real lighting, pack it with real products, and ship one to yourself through the real carrier lane. Shift4Shop's summary is the industry consensus: single prototypes cost much more per unit than bulk, and they are worth it because they catch defects at the only stage where defects are cheap.
Then lock the design and move to a recurring rhythm: production runs 15–20 days after sample approval and payment receipt on our line, so a monthly programme is scheduling design freezes six weeks ahead of each ship date — a cadence our subscription box packaging buyer's guide covers in full.
Sources
- Penji, “Design a Subscription Box: The Crucial Steps” — https://penji.co/design-a-subscription-box
- Box Genie, “Custom Subscription Boxes 101” — https://www.boxgenie.com/blogs/news/custom-subscription-box
- Cratejoy, “How to Build Your Own Subscription Box” — https://sell.cratejoy.com/guides/how-to-build-a-subscription-box
- Shift4Shop, “Subscription Box Packaging Guide: How To Choose the Right Design” — https://support.3dcart.com/News/NewsItem/View/55/2023-subscription-box-packaging-guide-how-to-choose-the-right-design
Frequently asked questions
How do I design a subscription box?
Work in order: choose and lay out the products, measure the packed set, pick the structure (mailer for light presentation packs, shipper for heavy or fragile), request the dieline for those dimensions, design inside its safe zones with vector artwork, choose the print method your run size dictates, and validate with a printed sample before the production run. Designing out of order — artwork before dimensions, structure before contents — is where most first-run revisions come from.
Do I need a designer to get subscription box artwork print-ready?
Not necessarily. Vendor design tools handle clean logo-led layouts for free, and manufacturers including us check and prepare artwork against the dieline as part of production. Hire a designer — by project on a freelance marketplace or via a subscription service — when the box carries monthly art direction or the brand depends on the design system itself. The print-ready standard is the same either way: vector files, inside safe zones, proven by a proof.
What is a dieline and why does my box need one?
A dieline is the flattened template of the box — every panel, fold line, and glue tab at final size. It is the contract between your artwork and the cutting die: it shows exactly where each design element lands once the box folds, and keeps critical artwork clear of folds, glue, and the zones tape and labels will cover. Skipping the dieline, as Penji warns, is the classic first-timer mistake — artwork that looked centred on screen lands across a fold in print. We provide a free dieline preview so you can verify structure and dimensions before tooling.
How do I get a sample of my subscription box design?
Ask your vendor for a printed sample before committing to the run. Published market options run from about 1 US dollar for stock samples to 20 US dollars and up for custom printed ones; our custom printed sample uses your own artwork on your chosen board at 25 US dollars plus 20 US dollars shipping, produced in 3–5 days. Test the sample packed and shipped, not just opened — the design is not finished until it survives the carrier.
Get your subscription box design produced
We turn print-ready subscription box designs into recurring production — custom mailer and shipper structures, dielines built to your packed dimensions with a free preview, artwork checked against the safe zones, and a quote within one business day from 200 pieces. Start with the subscription box packaging collection; for the vendor-comparison and ordering side, see the custom subscription boxes guide. Or send your product dimensions and we will spec the design with you.